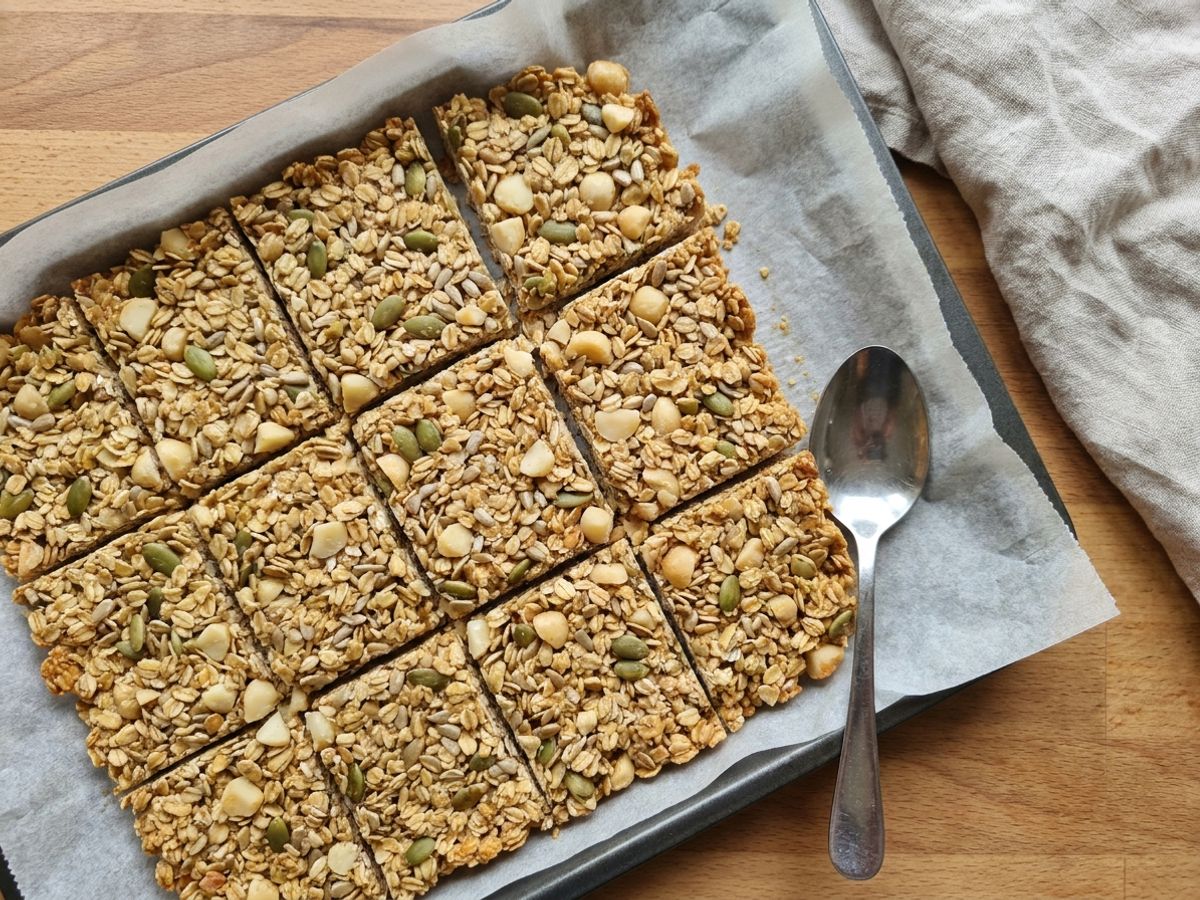
Granola Bars

Pressed granola bars made with oats, seeds, maple syrup, and coconut oil. There is a baked version for a crisp bar and a no-bake version for a chewy one.
Ingredients
- 2 cups gluten-free rolled oats
- 1/3 cup raw pumpkin seeds
- 1/3 cup raw sunflower seeds
- 2 tablespoons chia seeds
- 1/4 cup chopped macadamia nuts or pecans (optional)
- 1/4 teaspoon sea salt
- 1/4 teaspoon ground cinnamon (optional)
- 1/3 cup coconut oil, melted
- 1/3 cup maple syrup
- 2 tablespoons sunflower seed butter
- 1/4 teaspoon vanilla powder (optional, if tolerated)
- 1/4 cup chopped sulfite-free dried apple (optional)
Instructions
Mix the Dry Ingredients
- Line an 8x8 inch baking pan with parchment paper, leaving an overhang on two sides so you can lift the bars out later.
- In a large bowl, combine the oats, pumpkin seeds, sunflower seeds, chopped macadamia nuts or pecans if using, salt, and cinnamon if using. For the baked version, add the chia seeds here. For the no-bake version, hold them back to gel in the next section.
Add the Wet Ingredients
- In a small bowl, stir together the melted coconut oil, maple syrup, sunflower seed butter, and vanilla powder if using until smooth.
- For the no-bake version, stir the chia seeds into 3 tablespoons of warm water and let them sit for 5 minutes to gel, then add them with the wet ingredients. The chia gel helps the bars bind without baking.
- Pour the wet mixture over the dry ingredients.
- Stir well until everything is evenly coated. Fold in the dried apple if using. The mixture should hold together when pressed between your fingers.
Press and Set (Baked Version)
- Preheat your oven to 325°F (160°C).
- Transfer the mixture to the prepared pan. Lay a second piece of parchment on top and press down firmly and evenly with your hands or the bottom of a measuring cup. The harder you press, the better the bars hold together.
- Remove the top parchment and bake for 22 to 25 minutes, until the edges are golden brown.
- Let cool completely in the pan, then refrigerate for at least 30 minutes before lifting out and slicing into about 10 bars. Cutting while warm causes them to crumble.
Press and Set (No-Bake Version)
- Skip the oven. Press the mixture firmly into the lined pan as described above.
- Cover and refrigerate for at least 1 hour, until firm.
- Lift out using the parchment overhang and slice into about 10 bars. Keep these bars chilled, since they are softer than the baked version.
Tips & Substitutions
- Use certified gluten-free oats. Regular oats are often cross-contaminated with wheat during processing.
- Press firmly for bars that hold their shape. Loosely packed mixture crumbles when sliced. Pack it down hard with the bottom of a measuring cup before baking or chilling.
- Baked bars are crisp, no-bake bars are chewy. For chewier no-bake bars, add an extra tablespoon of maple syrup and sunflower seed butter so the mixture binds well.
- Swap sunflower seed butter for macadamia nut butter. Both work well as binders and add richness. Macadamia and pecans are among the better-tolerated nuts for many people, while walnuts, cashews, and peanuts are best avoided.
- No dried fruit needed. If you skip the dried apple, the bars still hold together. If you add it, choose sulfite-free dried apple from a recently opened bag, since many dried fruits are preserved with sulfites and dried fruit can be a trigger for some people. See why freshness matters.
- For a stricter low histamine version, keep it plain. Omit the cinnamon, vanilla, and dried apple, use very fresh seeds and nuts, and store the bars in the fridge or freezer.
 Try Histamine Tracker
Finally understand your histamine reactions. Scan meals with your camera, log symptoms naturally, and see daily insights based on YOUR patterns. Try free for 7 days.
Why This Works
Gluten-free oats. Certified gluten-free rolled oats are often tolerated, though oats are individual, so start with a small serving if you are unsure. They provide fiber and form the sturdy base that holds the bars together.
Pumpkin seeds and sunflower seeds. Both are commonly listed as lower in histamine and often tolerated when fresh. They add protein, healthy fats, and minerals, and a satisfying crunch. Store them cold to reduce rancidity.
Maple syrup. A natural sweetener that is generally well tolerated in moderate amounts. It binds the mixture and adds just enough sweetness, and unlike honey it keeps these bars vegan.
Coconut oil. A stable fat that is naturally low in histamine. It helps the bars firm up and crisp without dairy butter.
Macadamia nuts and pecans. Among the better-tolerated nuts for many people with histamine intolerance, though individual tolerance varies. Use them fresh, since older, rancid nuts are more likely to cause problems.
Storage
Store in an airtight container in the refrigerator and eat within 3 to 4 days. The no-bake version is softer and should always be kept cold. For longer storage, freeze the bars in a sealed container with parchment between layers, since the seeds and nuts can go rancid at room temperature over time.
For educational purposes only. Not medical advice. Consult a healthcare professional for personal guidance.
References
- Easy Plant-Based Granola (Nut-Free Option) — Low Histamine Eats
- Easy No-Bake Homemade Clif Bars (Gluten-Free) — Low Histamine Eats
- Low Histamine Nuts and Seeds (Complete Guide) — Low Histamine Eats
- Cranberry, Oat and Seed No-Bake Granola Bars — Meal Garden
- Histamine and histamine intolerance — Maintz & Novak (2007)
- Histamine Intolerance: The Current State of the Art — Comas-Basté et al. (2020)
- Biogenic Amines in Plant-Origin Foods: Are They Frequently Underestimated in Low-Histamine Diets? — Sánchez-Pérez et al. (2021)
- Diamine Oxidase Supplementation Improves Symptoms in Patients with Histamine Intolerance — Schnedl et al. (2019)
- Histamine Intolerance — A Comprehensive Review — Jochum (2024)