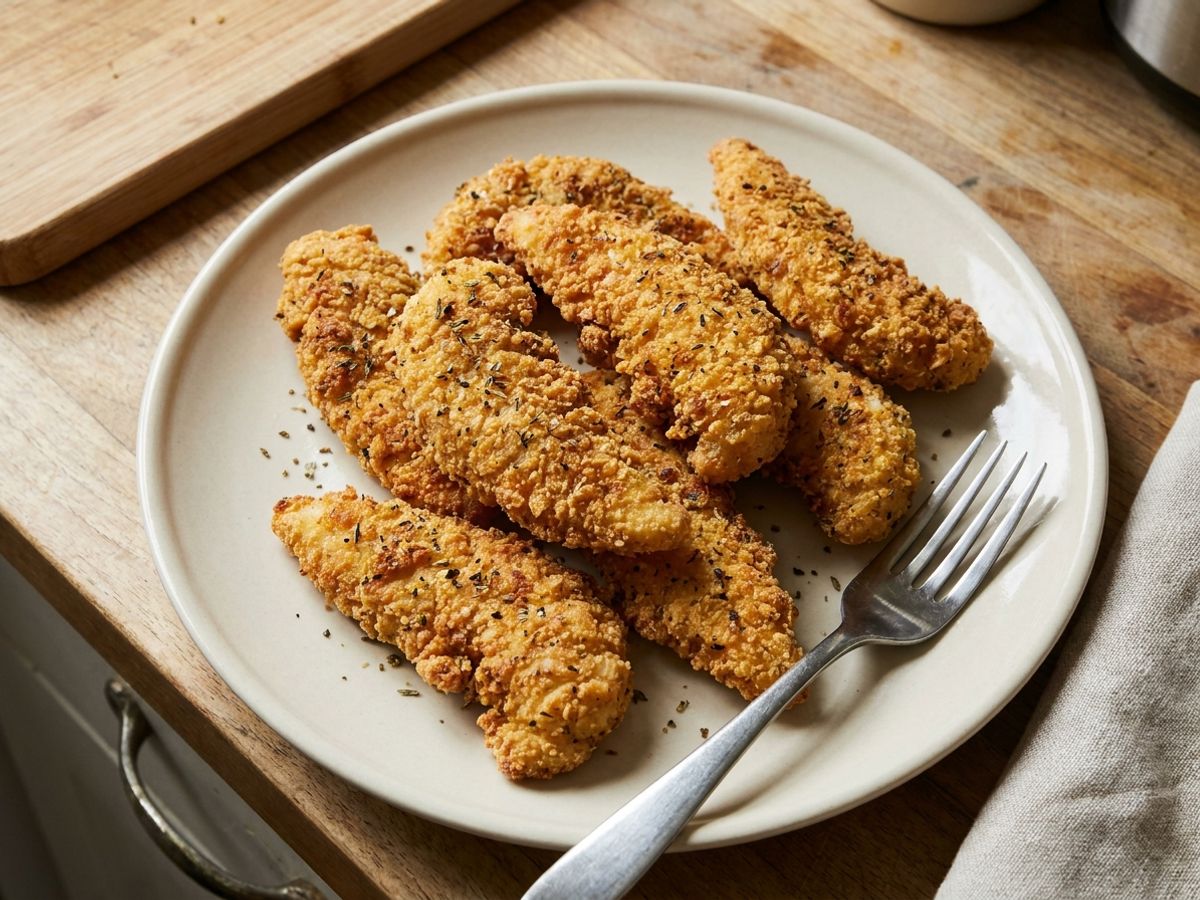
Crispy Chicken Tenders

Crispy chicken tenders with a simple gluten-free breading. Baked or pan-fried.
Ingredients
- 1 pound fresh chicken breast, cut into 1-inch wide strips (about 8-10 tenders)
- 1/2 teaspoon sea salt, divided
Breading
- 1/2 cup cassava flour (for dredging)
- 1 cup rice flour or fine gluten-free breadcrumbs (for the outer coat)
- 1 teaspoon dried thyme
- 1 teaspoon dried oregano
- 1/2 teaspoon sea salt
Binder (replaces egg wash)
- 1/2 cup unsweetened coconut milk or rice milk (check for no guar gum or carrageenan)
- 1 tablespoon arrowroot powder
- 1 teaspoon olive oil
For cooking
- 3-4 tablespoons olive oil (for pan-frying), or 2 tablespoons for baking
Instructions
Prep
- Pat the chicken strips completely dry with paper towels. Sprinkle with half the salt.
- Set up three shallow bowls. In the first, whisk the cassava flour with a pinch of salt. In the second, whisk the coconut milk, arrowroot powder, and olive oil until smooth. In the third, combine the rice flour, dried thyme, dried oregano, and remaining salt.
- Working one tender at a time, dredge in the cassava flour (shake off the excess), dip in the milk slurry until coated, then press into the herb-flour mixture. Place on a plate.
- Refrigerate the breaded tenders for 10 minutes. This helps the coating set and stay on during cooking.
Baked Method
- Preheat the oven to 425°F (220°C). Line a baking sheet with parchment paper and brush with olive oil.
- Arrange the tenders on the sheet with space between each one. Drizzle or brush the tops lightly with olive oil.
- Bake for 10 minutes, flip carefully with a spatula, then bake another 8-10 minutes until golden and the internal temperature reaches 165°F (74°C).
Pan-Fried Method
- Heat 3-4 tablespoons of olive oil (light olive oil works best) in a large skillet over medium heat until shimmering. Adjust the heat down if the oil starts to smoke.
- Add the tenders in a single layer, leaving space between each one. Do not crowd the pan. Cook in batches if needed.
- Fry for 3-4 minutes per side, until deeply golden and the internal temperature reaches 165°F (74°C).
- Transfer to a paper-towel-lined plate for a minute before serving.
Tips & Substitutions
- Use fresh chicken. Buy it the day you plan to cook, or use chicken that was frozen quickly after purchase. Thaw in the refrigerator and cook promptly. Chicken that has been sitting in the fridge for days accumulates more histamine.
- Wire rack for crispier baked tenders. Set a wire rack over the baking sheet and bake the tenders on top. Air circulates underneath so both sides crisp without needing to flip.
- Swap the flours. All rice flour works if you do not have cassava. Fine gluten-free breadcrumbs give the crispiest exterior.
- Fresh herbs instead of dried. Use 1 tablespoon of finely chopped fresh thyme and oregano in place of the dried. Fresh herbs are often better tolerated.
- Keep the pan hot. If the tenders sit too long in cool oil, the coating absorbs oil and turns soggy. Wait until the oil shimmers before adding the chicken.
- Air fryer option. 400°F (200°C) for 10-12 minutes, flipping halfway through. Spray or brush the tenders with olive oil first.
- Dipping sauces. Pair with no-tomato ketchup, dairy-free ranch, BBQ sauce, or honey garlic sauce, all of which skip the vinegar and soy sauce found in store-bought versions.
- Bite-sized version. For kid-friendly cubes that cook faster with a simpler one-bowl breading, see the chicken nuggets recipe.
 Try Histamine Tracker
Finally understand your histamine reactions. Scan meals with your camera, log symptoms naturally, and see daily insights based on YOUR patterns. Try free for 7 days.
Why This Works
Fresh chicken. Chicken itself is low in histamine when bought fresh and cooked the same day. Avoiding pre-marinated or previously frozen chicken keeps the histamine load lower.
Cassava and rice flour. Both are generally well tolerated and give the breading structure without gluten. Gluten can be a separate issue for some people with histamine intolerance, so a gluten-free coating removes one variable.
Dried thyme and oregano. These are commonly tolerated for flavoring. Individual response varies with dried herbs since they sit on a shelf, so fresh versions are an easy swap if you find you react to dried.
Olive oil. A well-tolerated cooking fat that handles both oven and skillet heat without introducing fermented or aged components.
Milk and arrowroot binder. Replaces the egg wash in classic breaded tenders. Egg whites can trigger reactions in some people, so a dairy-free milk slurry skips that risk while still helping the breading stick.
Storage
Best eaten right out of the oven or skillet. Chicken is one of the foods most prone to histamine buildup in leftovers, so try to serve immediately. If you must store, refrigerate within 30 minutes and eat within 24 hours, or freeze portions right after cooking. Reheating does not reduce histamine that has already formed. Serve with mashed potatoes or roasted carrots to round out the plate.
For educational purposes only. Not medical advice. Consult a healthcare professional for personal guidance.
References
- Gluten-Free Chicken Tenders (No Egg) — Less with Laur
- Low Histamine Chicken Strips, GF DF — Low Histamine Baby
- Low Histamine Meat Tips and Common Mistakes — Mast Cell 360
- Histamine and histamine intolerance — Maintz & Novak (2007)
- Histamine Intolerance: The Current State of the Art — Comas-Basté et al. (2020)
- Biogenic Amines in Plant-Origin Foods: Are They Frequently Underestimated in Low-Histamine Diets? — Sánchez-Pérez et al. (2021)
- Diamine Oxidase Supplementation Improves Symptoms in Patients with Histamine Intolerance — Schnedl et al. (2019)
- Histamine Intolerance — A Comprehensive Review — Jochum (2024)