 Histamine Tracker
Homemade Tortilla Chips

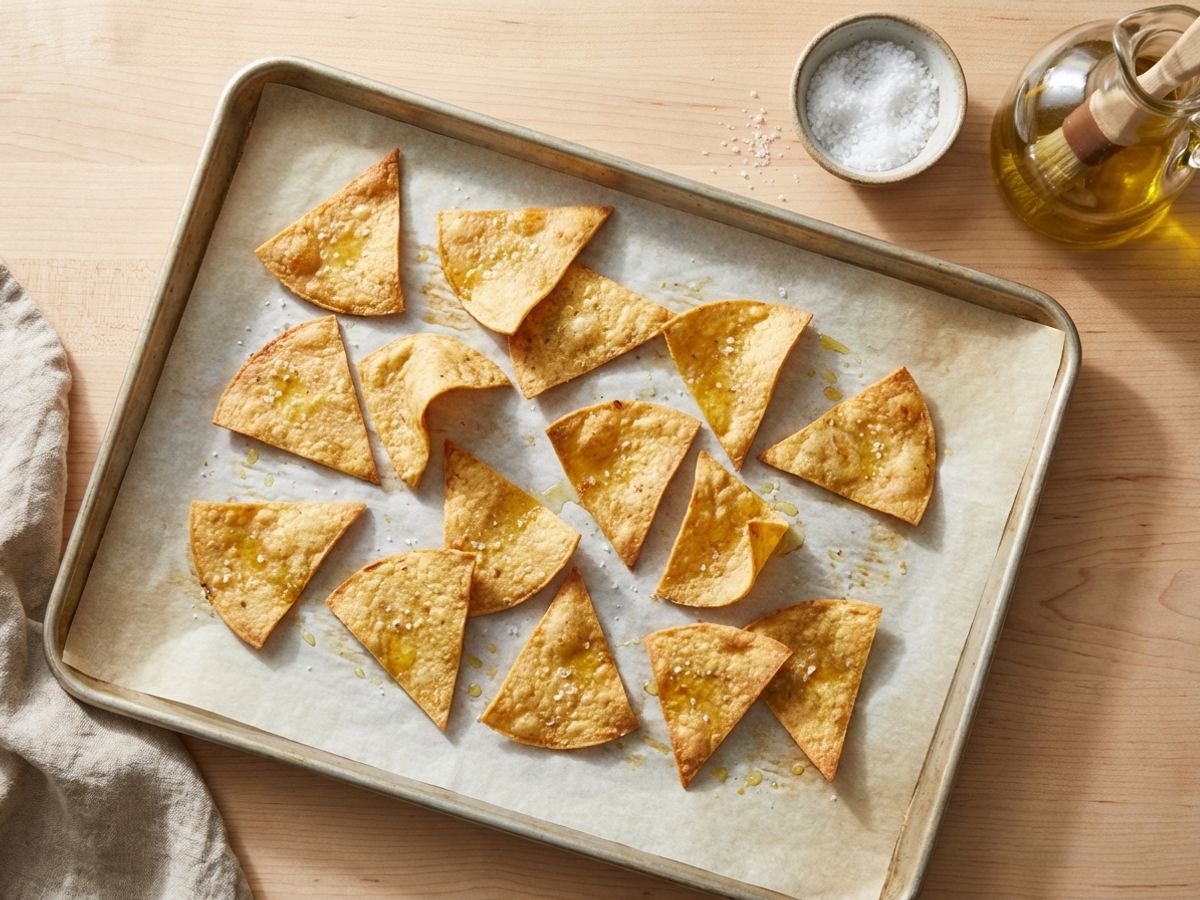
Low histamine baked tortilla chips made with corn tortillas, olive oil, and sea salt.
Ingredients
- 6 corn tortillas (or cassava tortillas for corn-free; check ingredients for additives)
- 1 tablespoon olive oil
- 1/2 teaspoon sea salt
Instructions
Prep
- Preheat your oven to 350°F (175°C).
- Line a large baking sheet with parchment paper.
- Stack the tortillas and cut into 6-8 wedges each, like a pizza.
Season
- Spread the tortilla wedges in a single layer on the baking sheet.
- Brush or drizzle with olive oil on both sides.
- Sprinkle evenly with salt.
Bake
- Bake for 6-8 minutes until the edges start to curl and turn golden.
- Flip the chips and rotate the pan for even browning.
- Bake for another 5-7 minutes until crisp and lightly browned. Chips should feel mostly firm when you pull them.
- Watch closely in the final minutes. Thinner chips will finish first.
- Remove from oven and let cool on the baking sheet. They will crisp up more as they cool.
Tips & Substitutions
- Cassava tortillas work well if you react to corn. Look for tortillas made with cassava flour that is not fermented.
- Thinner tortillas make crispier chips. Thicker tortillas will still work but may need a few extra minutes in the oven.
- Don't overlap on the pan. Chips need space between them to crisp up properly.
- Check tortilla ingredients carefully. Look for vinegar, citric acid, or "natural flavors" on the label if you're sensitive. Simpler ingredient lists are better.
- Swap olive oil for coconut oil if you prefer. Both work well at 350°F (175°C).
 Get the Histamine Recipes app
250+ low histamine recipes, every ingredient rated.


Why This Works
Corn tortillas. Generally well tolerated and naturally gluten-free. Making chips at home lets you control every ingredient and avoid the preservatives found in store-bought chips.
Olive oil. A stable cooking fat that is generally well tolerated. Just a light coating is enough for crispiness without deep frying.
Sea salt. Adds flavor without any histamine concerns. Keeping the seasoning simple reduces the chance of triggering a reaction.
Storage
Best eaten fresh and warm from the oven. These chips stay crispy for several hours at room temperature in an open container. If they soften, re-crisp in a 350°F (175°C) oven for 3-5 minutes. Because they're dry and baked, they're generally lower risk for histamine buildup than moist leftovers, but they taste best the same day.
Not sure about an ingredient?
Histamine tolerance is personal, and most of working it out comes down to knowing where individual foods stand. Our low histamine food list rates 4,500+ foods and explains the reasoning behind each rating, including the foods whose level depends on how fresh they are or how they were stored. It is worth a look before you swap anything in this recipe.
Before you eat
A lot of people with histamine intolerance take a DAO enzyme supplement 15 to 30 minutes before a meal. DAO is the enzyme your body uses to break down the histamine in food, and taking it with meals supports that natural process. Curious how it works? See do DAO supplements actually work.
Affiliate link: if you buy through it, we may earn a commission at no extra cost to you. These statements have not been evaluated by the Food and Drug Administration. This product is not intended to diagnose, treat, cure, or prevent any disease.
For educational purposes only. Not medical advice. Consult a healthcare professional for personal guidance.
References
- 33 Tasty Low Histamine Snacks (to Buy & to Make!) — Low Histamine Eats
- 13+ Low Histamine Flours & Grains — Low Histamine Eats
- Histamine and histamine intolerance — Maintz & Novak (2007)
- Histamine Intolerance: The Current State of the Art — Comas-Basté et al. (2020)
- Biogenic Amines in Plant-Origin Foods: Are They Frequently Underestimated in Low-Histamine Diets? — Sánchez-Pérez et al. (2021)
- Diamine Oxidase Supplementation Improves Symptoms in Patients with Histamine Intolerance — Schnedl et al. (2019)
- Histamine Intolerance — A Comprehensive Review — Jochum (2024)